Step 1: Select users for the Shield trial
After Box enables your Shield trial, first determine the Box users in your organization who will test Shield’s classification-based access controls. This may be a group of individuals in your IT or Security teams, or a small department or functional team in your organization.NoteOnly this group of users will be able to view, apply, or modify new classification labels created for the purposes of the trial. The rest of your managed users, will see no change to their Box experience.Only the primary admin, not any co-admins, can configure users for Shield trial.
- In the Admin Console’s left pane, click Shield.
- In the top of the Shield window, click Access Policies.
- In the top-right corner, click Configure Trial Users. Box displays the Configure Shield Trial window.
- Select one of the following options:
- Disable for all managed users
- Enable for all managed users
- Enable for select users
- Enable for everyone except select users
NoteBox recommends you select Enable for select users to limit the Shield Trial to a small group of users. Type Box users by name or email address. As you type, Box displays names of users you can select (see screenshot below). 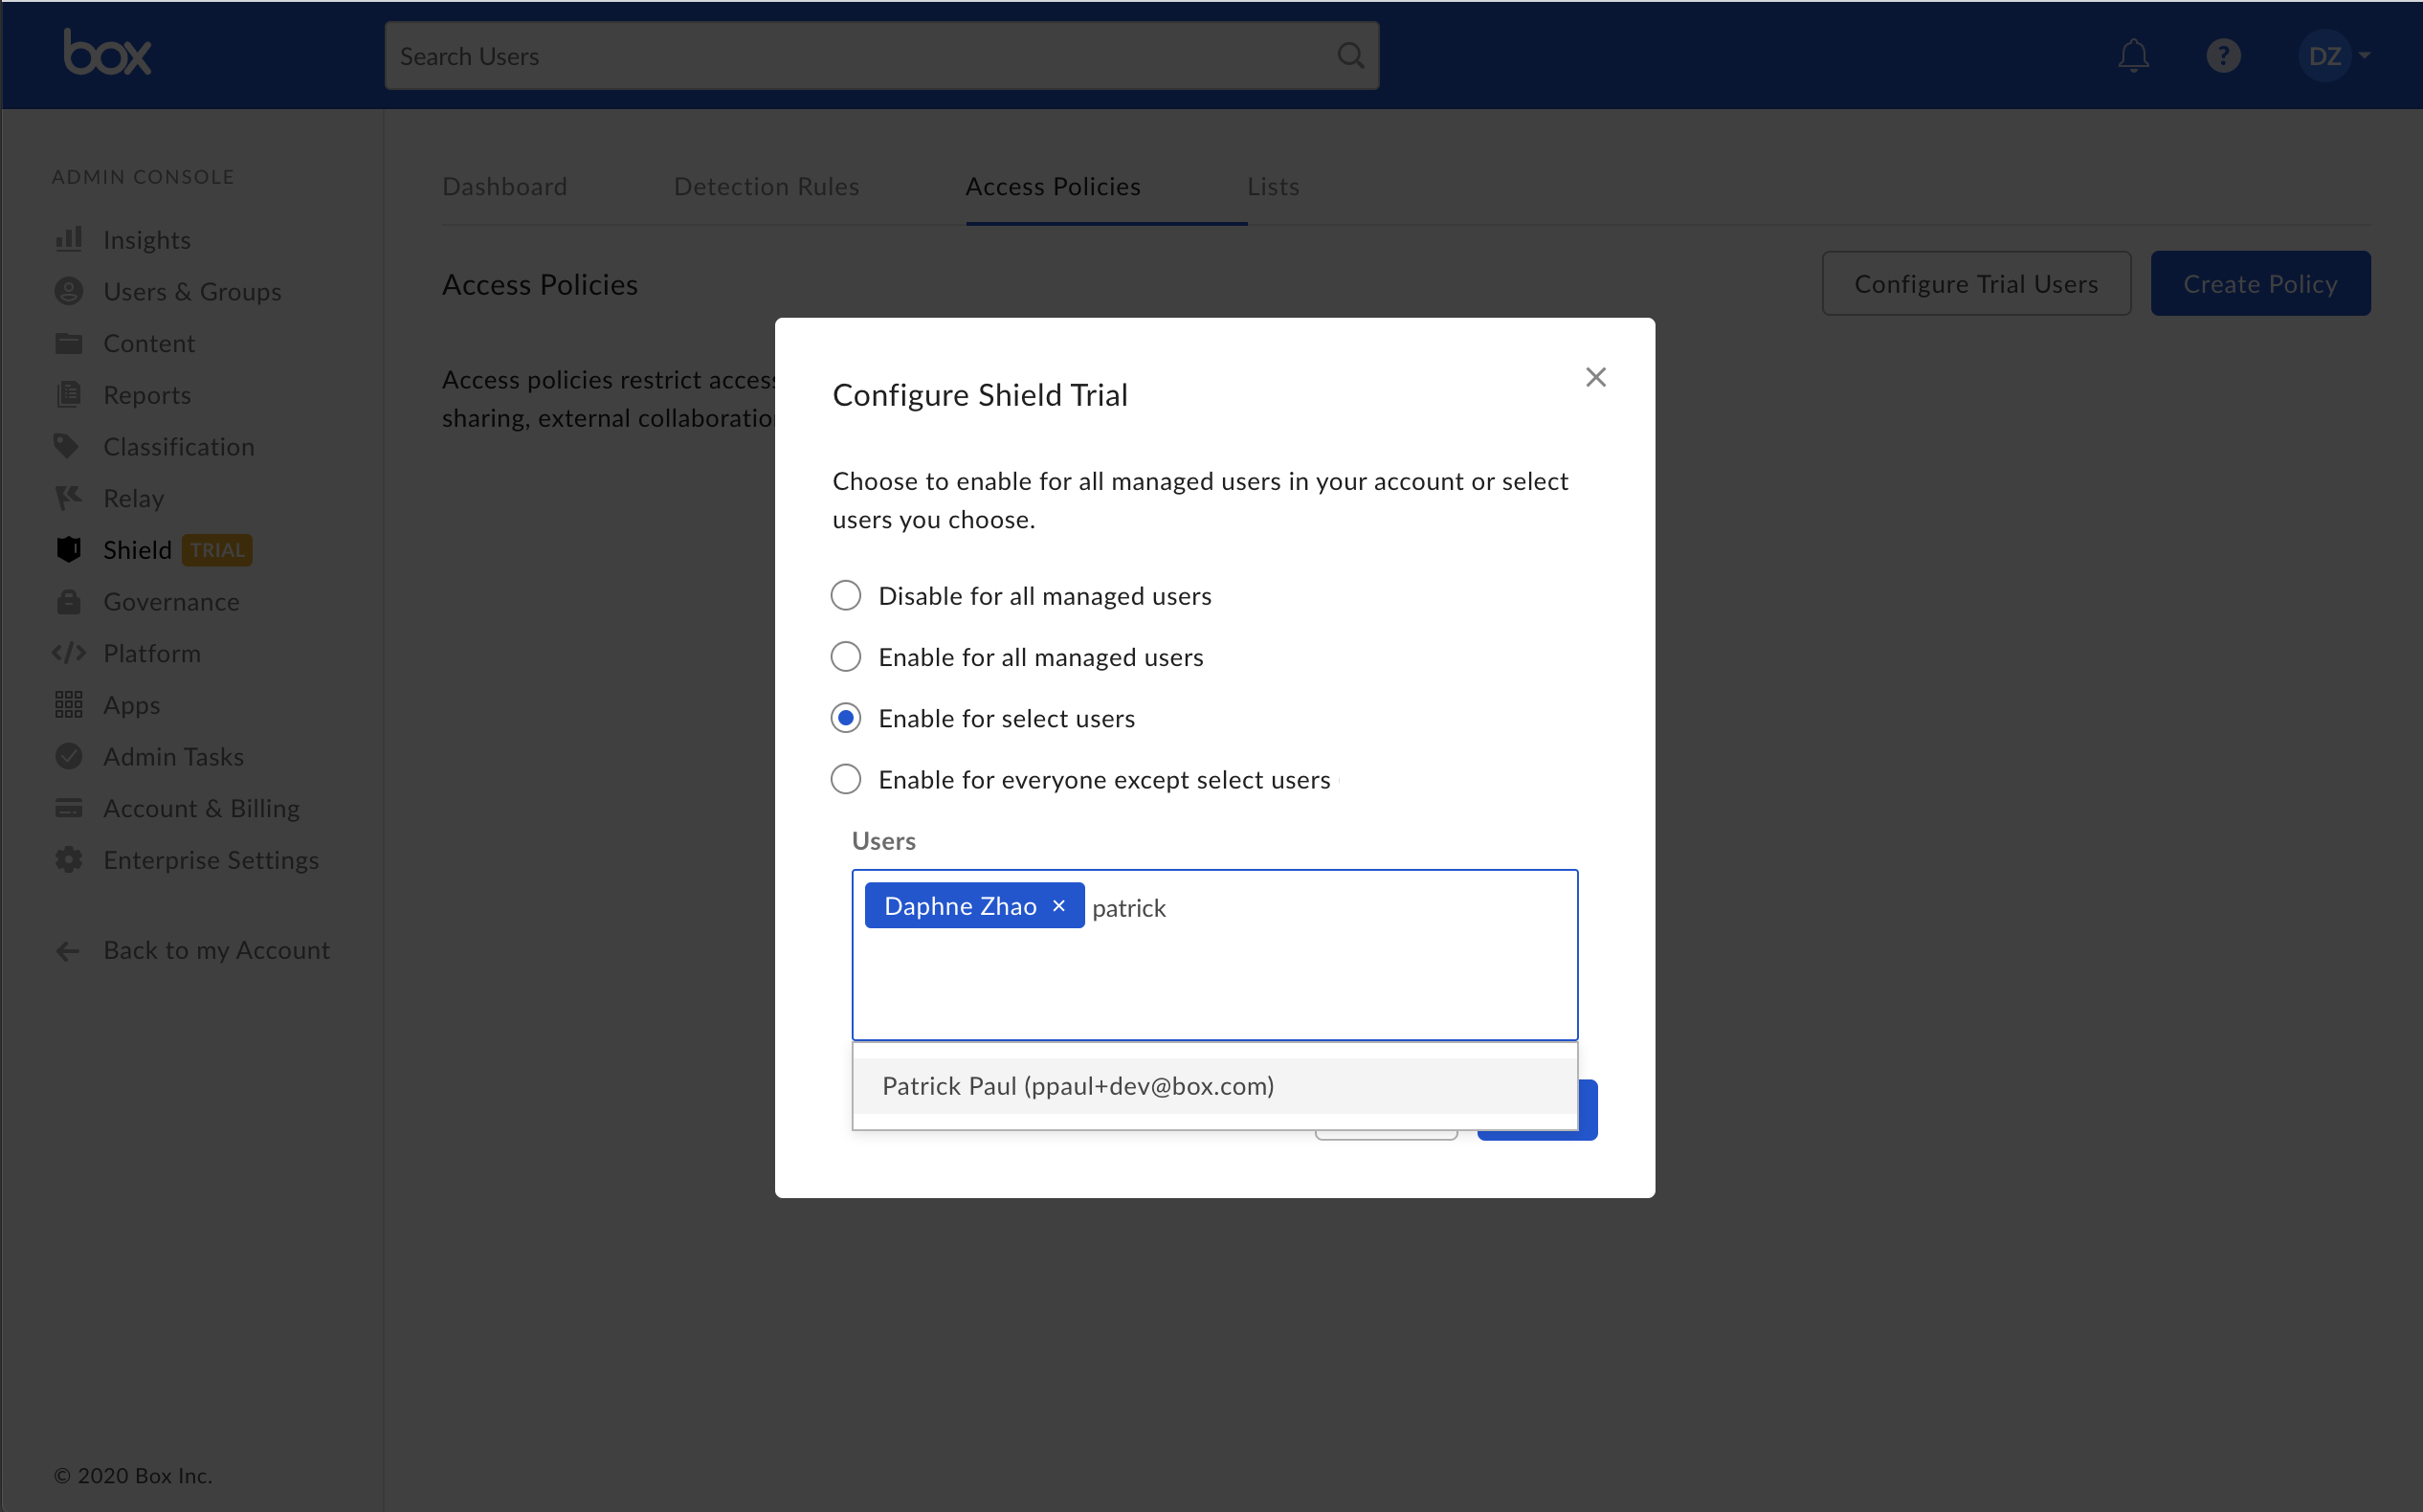
- In the bottom-right corner of the window, click Save.
NoteThe managed users who you select here to participate in the Shield trial are the ones who will be affected by Smart Access policies in that they can view, edit, and remove classification labels and will be subject to classification based access policies. (Threat Detection applies to all users automatically if a detection rule is enabled.)Users who manage the trial must also be given the co-admin role and must have at least one of the Shield permissions enabled. If they need to set up classification schema, configure access policies, or create threat detection rules, they need both view and edit privileges. If they just need to view classification schema and threat alerts, they need view privileges only. See Granting And Modifying Co-Admin Permissions and Users & Groups Settings for details.
Step 2: Create new classification label(s)
Next, create new classification label(s) (“trial classifications”) for the purposes of your Shield trial. For instructions on how to create, modify, or delete classification labels, see Classification Labels. If you are already using Box classifications in your Box environment, you will still need to create new classification labels for the Shield trial purposes - for example, [TEST CONFIDENTIAL].Step 3: Configure Shield Smart Access policies
You can now create Shield Smart Access policies for your new classification labels, which will be enforced for only the group of Shield trial users. Refer to our Using Smart Access article to create an access policy.Step 4: Apply classifications and test access policy enforcement
You can now ask your Shield trial users to begin classifying files and folders using the new labels, and test out the access policy enforcement and restrictions. Shield trial users can apply trial classifications to files or folders that are owned by Shield trial users.Ending the Shield trial
At the end of your 30-day trial, Shield will be disabled from your production environment. All trial classification labels created during the 30-day trial will be permanently deleted, and all files and folders that had a trial classification will become unclassified. All other trial data, i.e., access policies, detection rules, alerts, will also be permanently deleted.NoteThe following features are not available in the Shield trial:
- Automated classification
- Microsoft Information Protection integration
- Information barrier