Adding a connector line
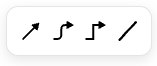
To add a connector to your Canvas:- Click the connector icon
 in the Canvas toolbar.
 - Choose the type of connector you need - line or arrow.
- Click anywhere on your Canvas to place the connector.
Note:
The default connector is a black arrow.
Connecting objects
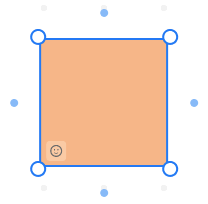
There are two ways to connect objects.From object
- Select the first object.
- Click one of the blue dots that appear on each side of the object.
- Click and drag the connector to the second object.
- Attach the connector to one of the blue dots that appear on the second object.
From connector
- Place the connector on the Canvas.
- Click one of the dots at the end of your connector.
- Drag the dot to the first object you want to connect.
- Drag the opposite dot to the second object and attach it to one of the blue dots that appear on the second object.
Note:
When you select the dot, your cursor changes to a hand.
Editing
To edit the connector, click on it.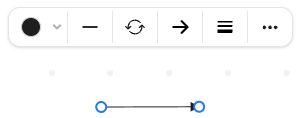
- choose the connector color,
- change the connector type on its left and right side,
- swap connector end styles,
- choose connector options: style, curve, and weight,
- open more options: copy, send to front, send to back, delete.