This article is about Box Shuttle in the Admin Console. If you’re using legacy Box Shuttle, a standalone tool, see legacy migration guides.
Supported systems
Box Shuttle Windows Agent is currently supported on:- Windows 8
- Windows 10
- Windows 11
- Windows Server 2012 R2/2016/2019/2022.
Install and configure Box Shuttle Windows Agent
You only need to install the Windows Agent if you plan to transfer files directly from your computer or from a mapped drive on your computer.If you have installed a Windows Agent for the legacy Shuttle on the computer, it should be fully uninstalled before installing the new Windows agent.
Prerequisites
When setting up a migration job, you have the following options:- install Windows Agent yourself on your machine,
- use the link to install Windows agent on a different machine,
- send the installation link to another user to install it.
- a local admin role on the computer where they install Windows Agent, or
- a domain admin role and membership in the computer’s local ADMINS group.
If a different person installs Windows Agent for you, they can have a Box account, but it is not mandatory.
- In your Admin Console, go to Content > Shuttle.
- Click New Job and provide a unique name for the analysis or migration job.
- Select Windows.
- Enter the Agent Name.
The agent name should not be longer than 16 characters. Spaces are not supported.
-
Download the Windows Agent onto a machine that either contains the data to transfer or is connected as a drive to that machine. Alternatively, copy the link and use it to download the Agent.

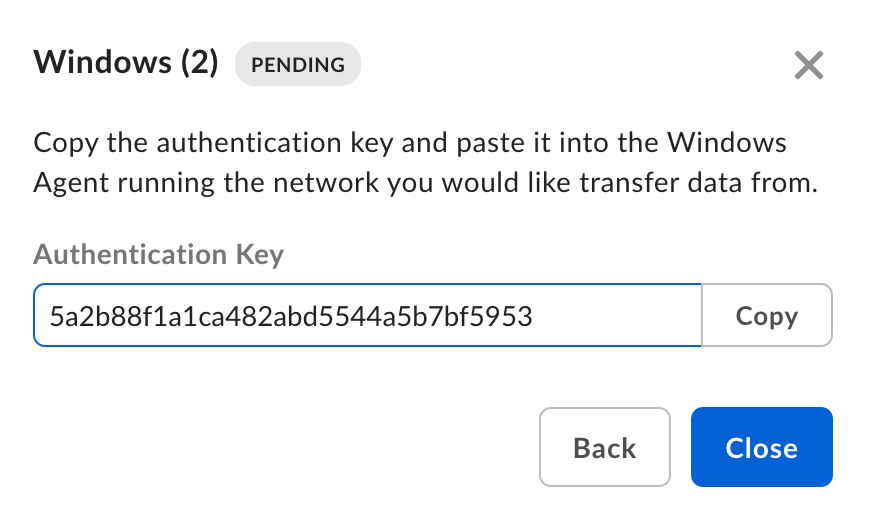
- Click Next and copy the Authentication Key. You will need it to register the Windows Agent.
Register Windows Agent
- Install Windows Agent using the downloaded file.
- In the pop-up window, provide the Agent Key you have copied before the installation and confirm. It may take up to 15 minutes to configure and register the Agent. During the registration process, it is normal for the Windows Agent status to disconnect before it eventually shows as Connected.
- Once the registration finishes, Windows Agent will appear as connected.
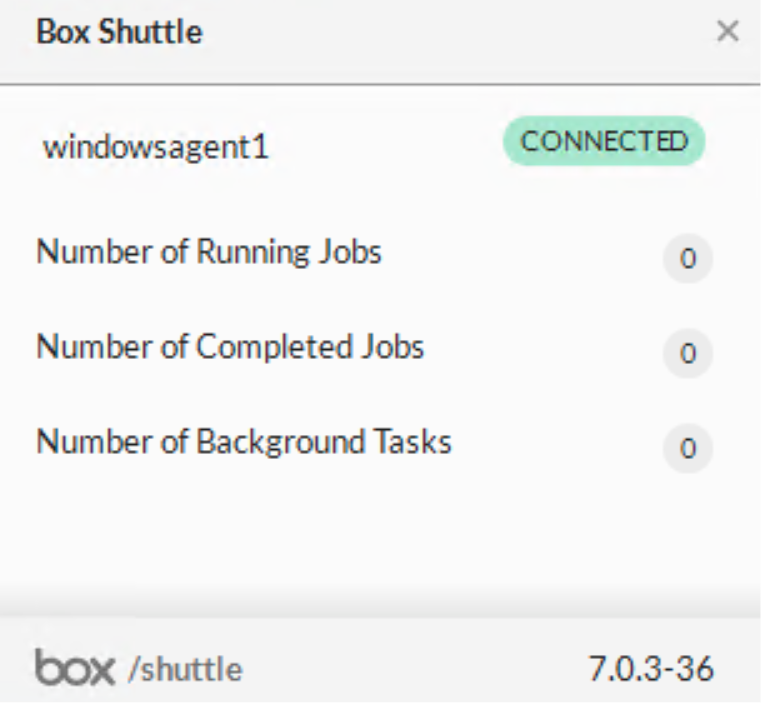
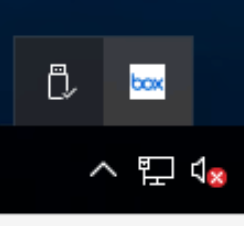
- You can find the Windows Agent in your system tray. If the Box icon is not in your system tray, double click the Shuttle shortcut on your desktop to make it appear.
Windows Agent settings
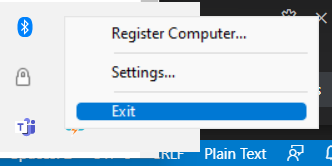
Right-clicking the Box icon in your system tray gives you two options:- Register Computer…
- Settings…
Register computer
Selecting Register computer… launches a pop up window where you can insert the authentication key.Settings
Settings… menu gives you the following options:- Launch on Login: automatically restarts the Agent when the user logs in. This is selected by default.
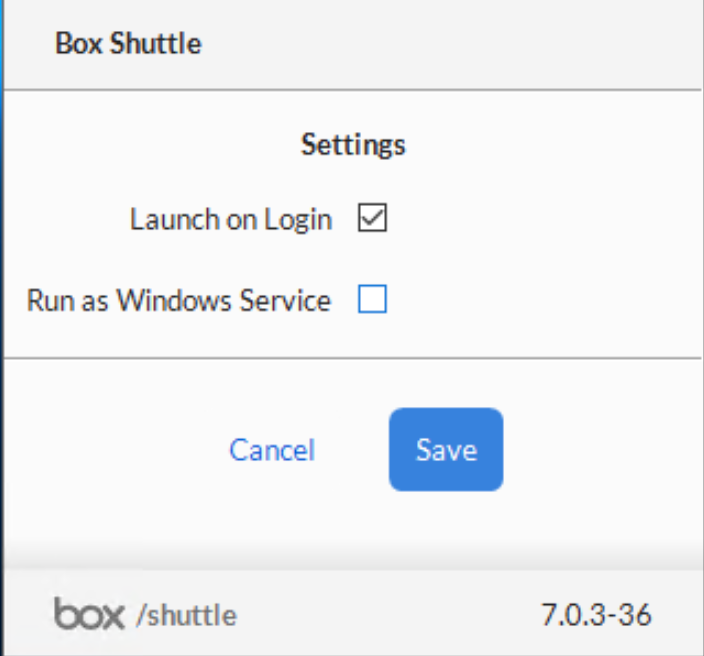
- Run as Windows Service: enables you to continue transferring data after the Windows Agent’s installing user has logged out. Clicking this option opens a new window with additional settings. For more information, see Run Windows Agent as a service.
Windows Agent as an application and service
Box Shuttle Windows Agent runs as an application by default. However, in the Windows environment, when a user starts an application and then logs out, the application shuts down and data transferred by it also stops. A solution to this is running the Windows Agent as a service rather than as an application because services continue to run after the user logs out and the data transfer continues as well. Whether it is running as an application or a service, for obvious reasons Windows Agent will stop transferring files if the computer on which it is installed powers down. The major difference in running the agent as a service is that while it can access networked drives, it does not access those drives by mapped drive letters (for exampleC:/, X:/, Y:/ drive). Instead, the drives will display as they would if you were to access them off the network – typically in the format \\servername\ folder.
Run Windows Agent as a service
- In the Settings window, select Run as Windows Service. Clicking this option opens a new window with additional settings.
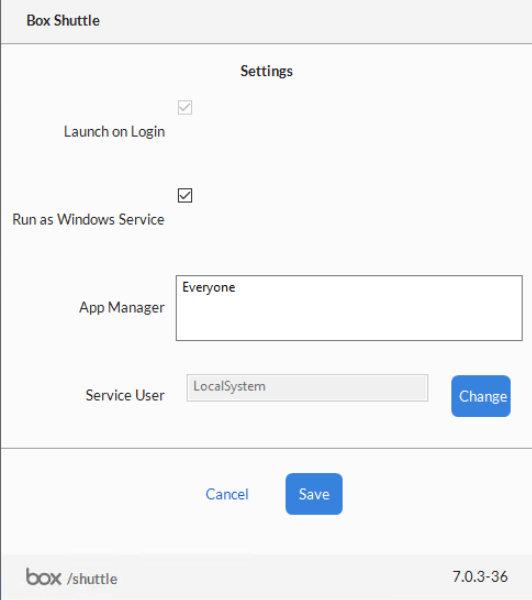
LocalSystem, which works for most systems. Select Save.
If you have a system where you must select a different user to run the service, that user must have access to the mapped drives for the migration. This is due to the way Windows permissions work.
- If you get a dialog box saying that the service started, you are all set and the Windows Agent is running as a service.
- If you get a dialog box that says the service user cannot be
LocalSystem, follow the steps in Configure Service user.
Configure service user
- If you get a dialog box that says the service user cannot be
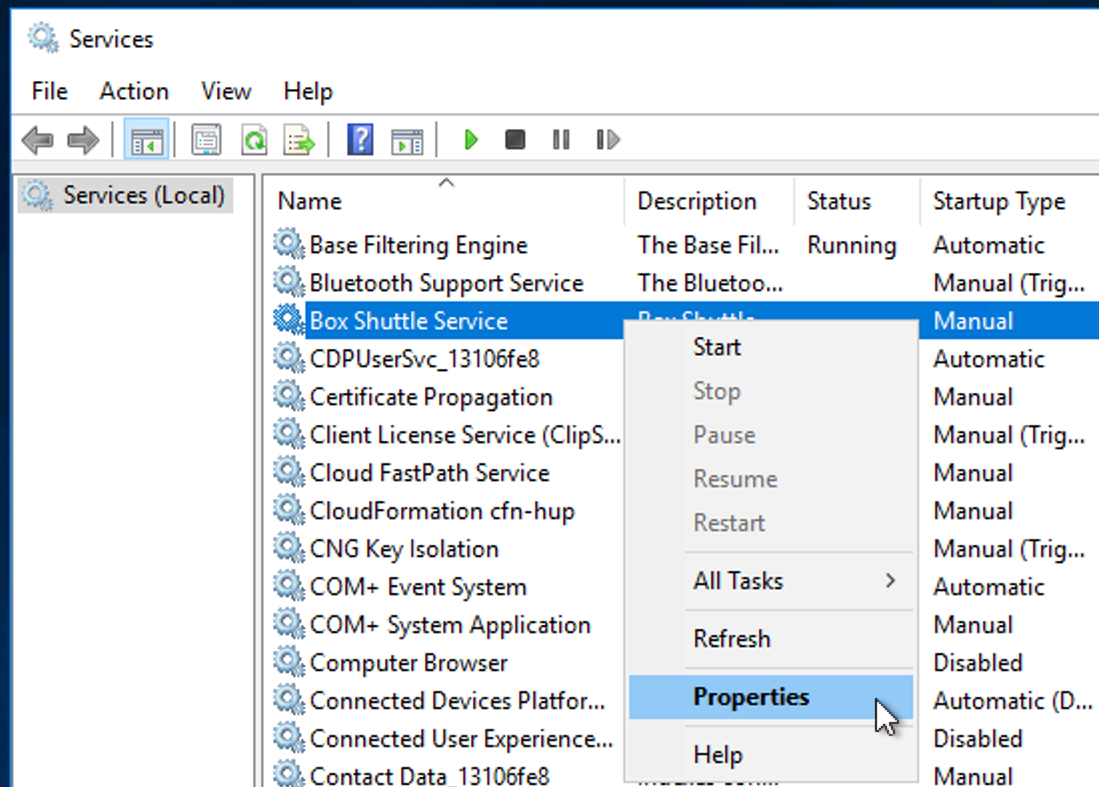
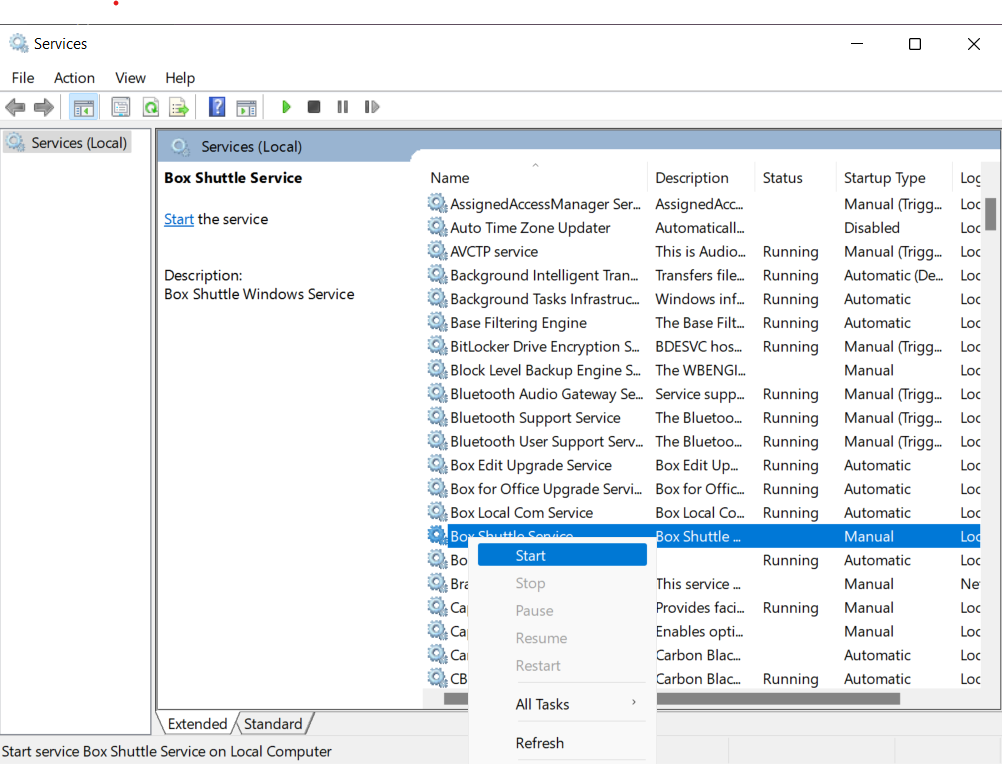
LocalSystem, close the error dialog and select the Change button from the system tray pop-up. - The Services window displays. Find the Box Shuttle Service in the list, right-click and select Properties.
- In the General tab, select Automatic in the Startup type.
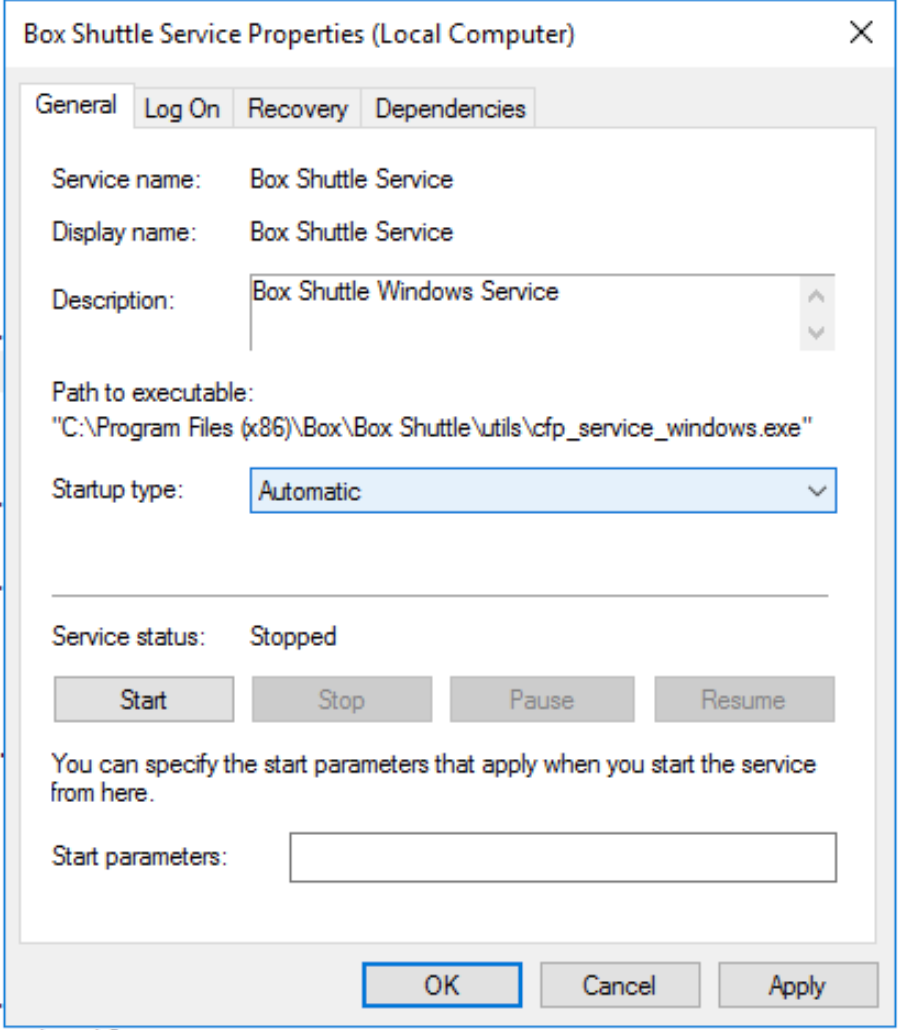
- In the Log On tab, deselect Local System account and enter an admin-level Windows user and Windows password for the current computer.
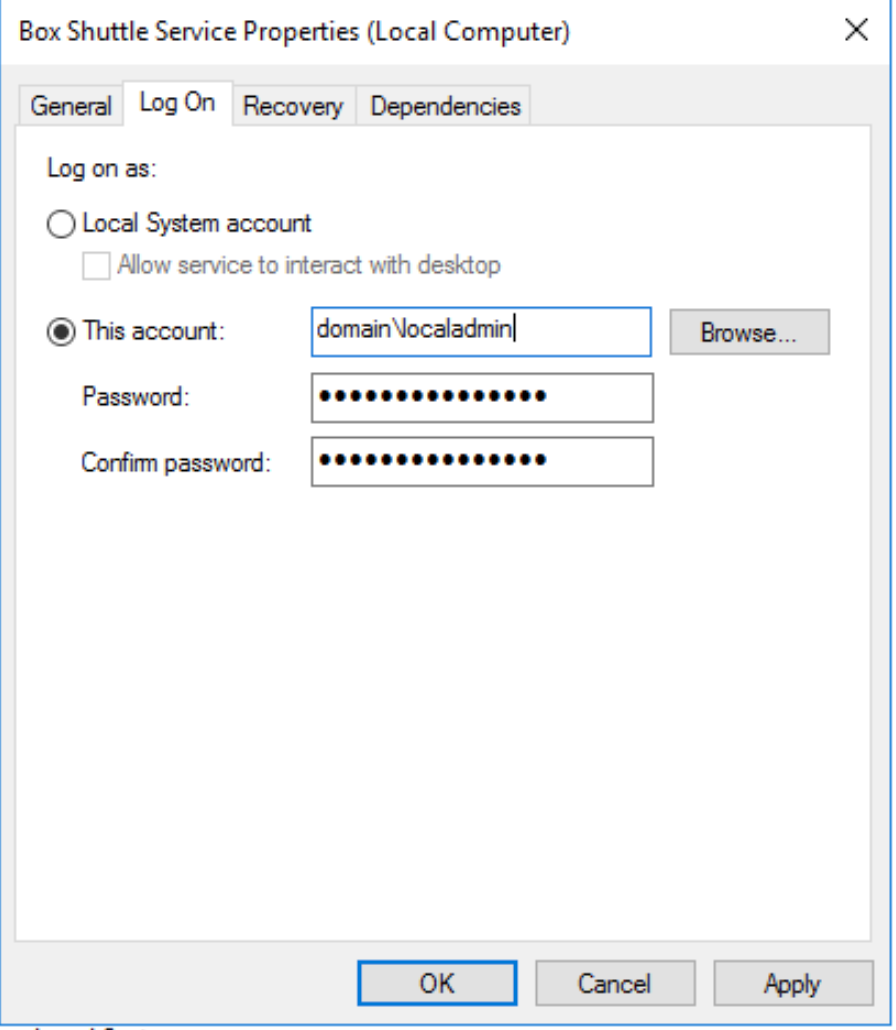
- Click OK.
- Right click Box Shuttle Service again and select Start to start the service.
- Click Save on the Windows system tray pop-up to complete the configuration.
Upgrade Windows Agent
Windows Agent will automatically execute its own minor upgrades. Major upgrades require a download and install of the.msi file. The latest .msi file is always available in the Shuttle UI.
Stop and uninstall Windows Agent
If the Box icon appears in your system tray, the Windows Agent is running. To stop the the agent, go to the system tray and right click on the Box icon: